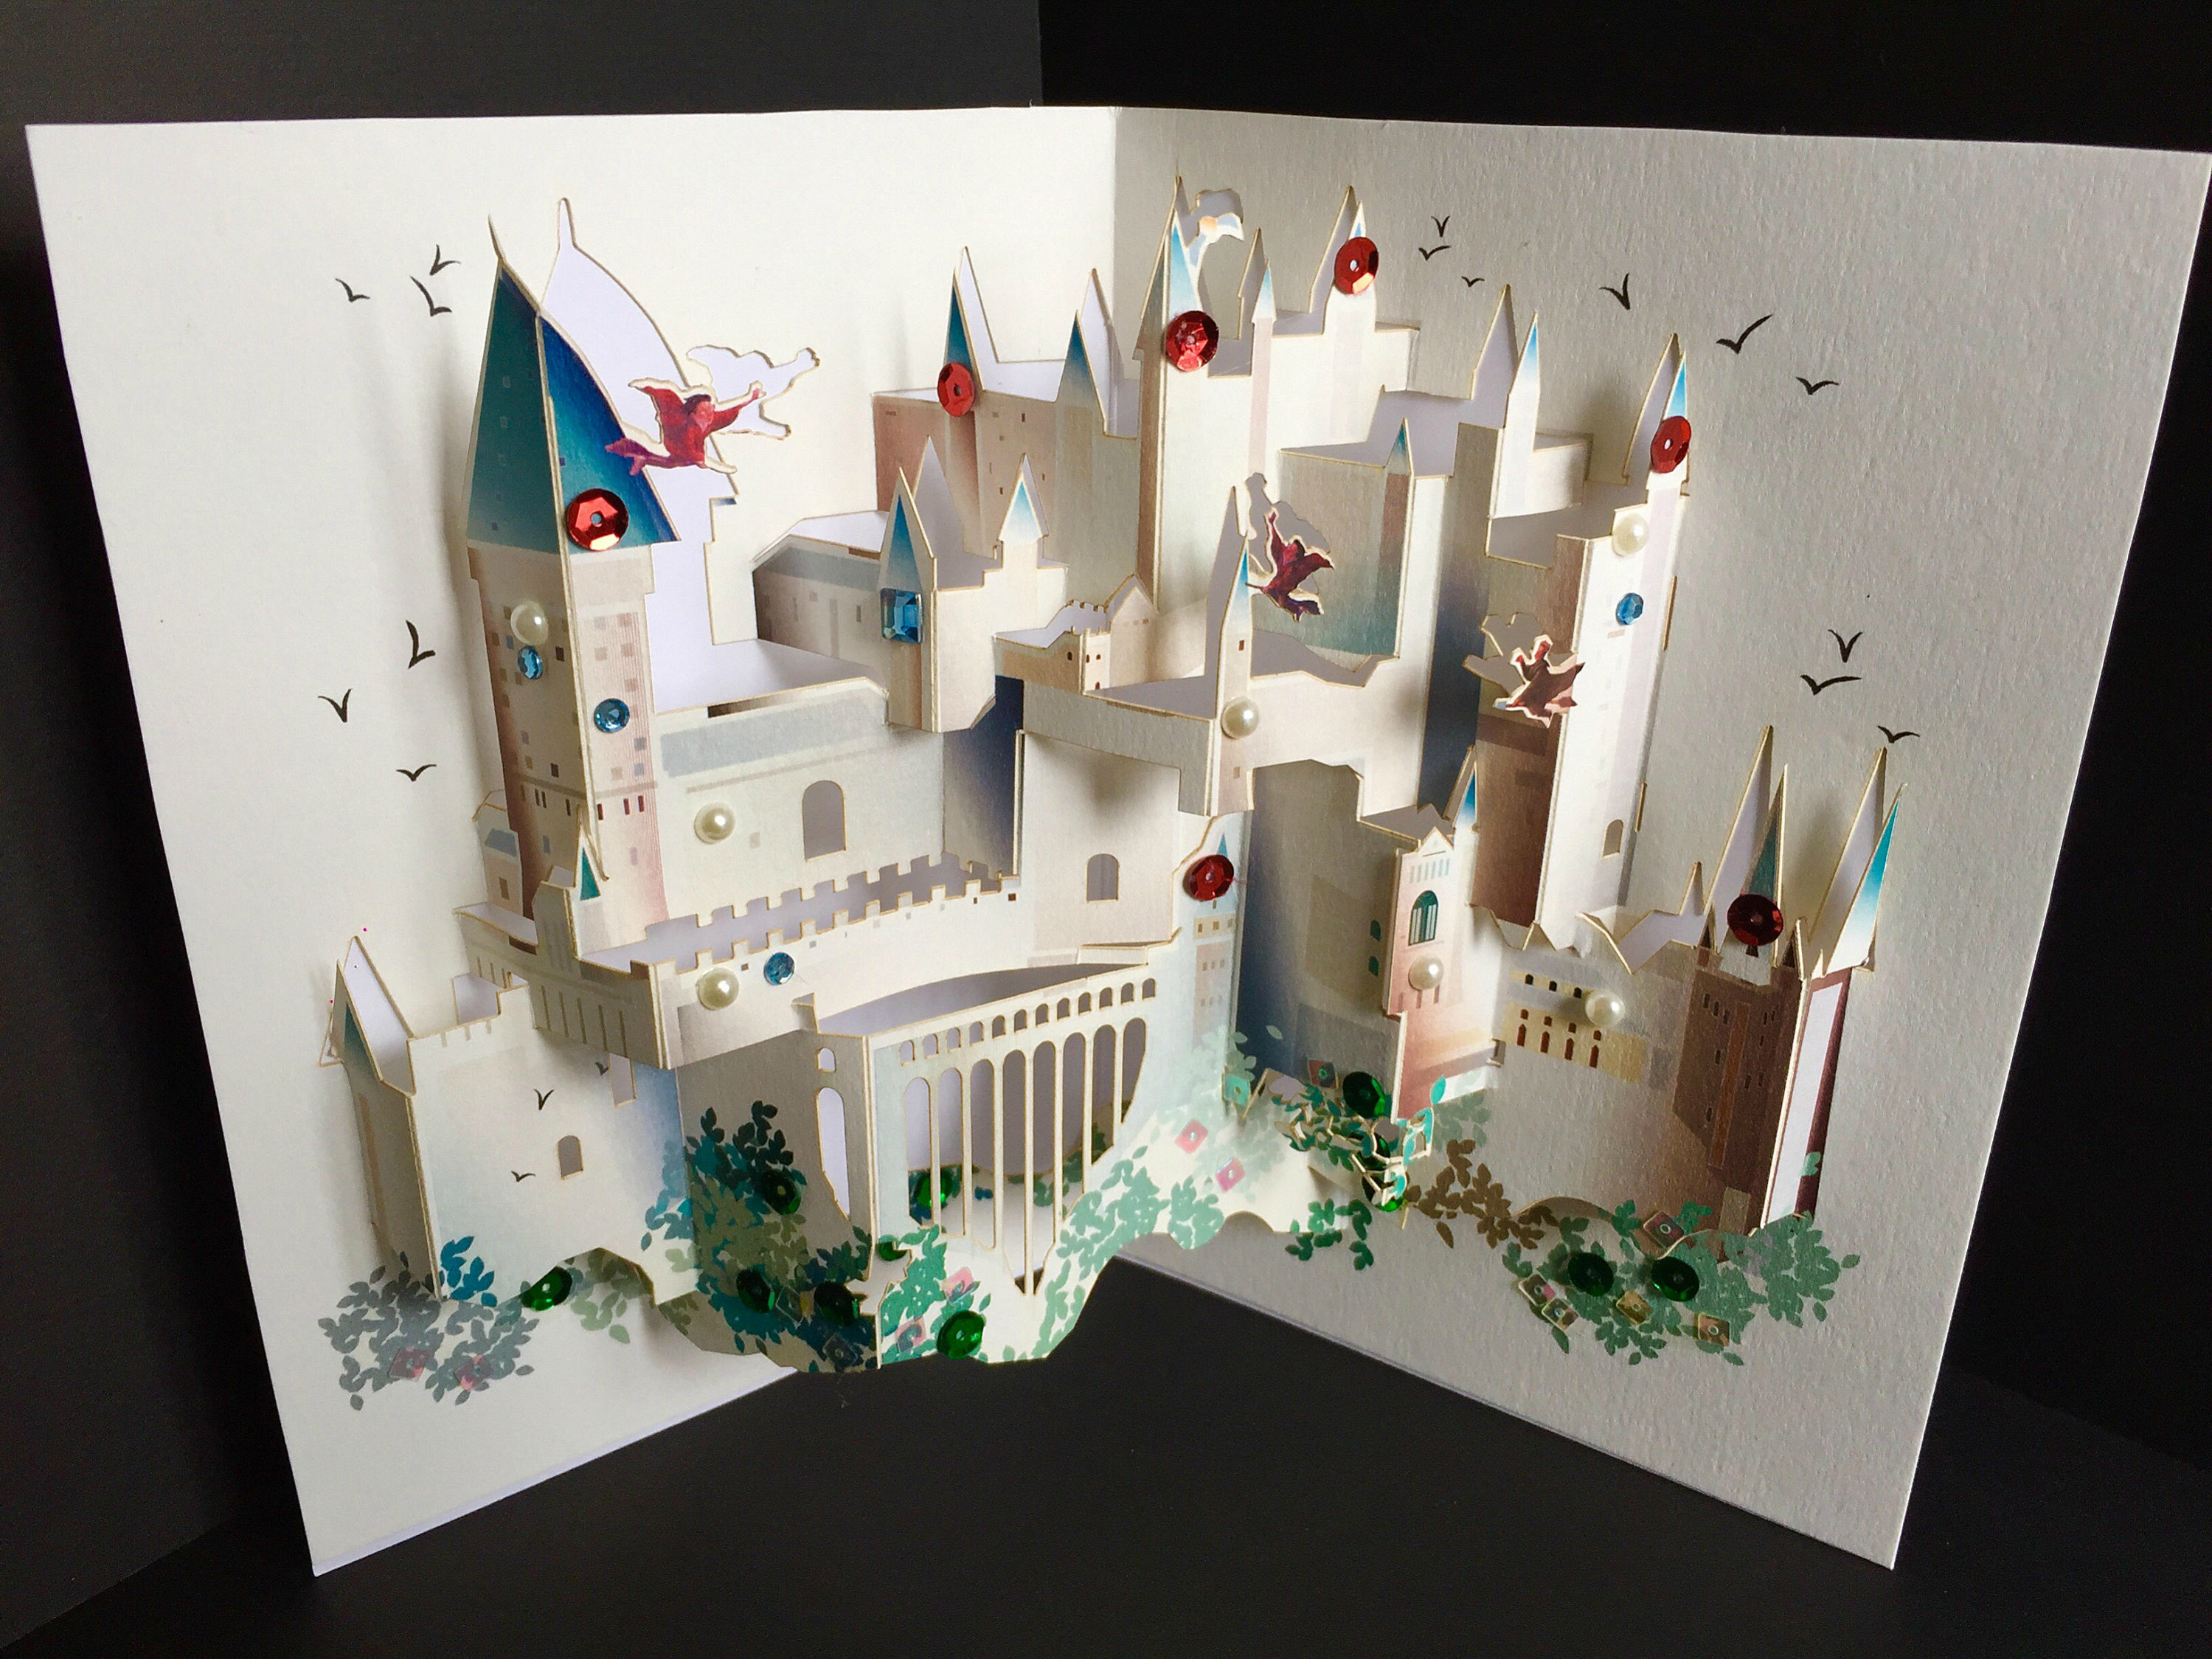
Creating pop up greeting cards requires both skill and passion. These two qualities are needed if you want to showcase your creativity while still also appearing as a witty person. But just like making regular greeting cards, crafting pop up cards can be as rewarding. Read on below to learn the basic steps on how to create a homemade
Things You Will Need:
- Pair of scissors or scalpel
- Glue, paste, double-sided tape
- Sheets of card stock in your preferred color and design
- Ruler
- Pre-cut paper patterns (if available)
- Scrapbooking embellishments (if available)
- Pencil, pens and/or markers
The Steps
If you have never made a pop up card before, follow the steps enumerated below to create a simple yet your very first pop up greeting card:
- Decide what you want your pop up card to look like and what message you would like the card to impart. You may draw or list the few key things that you want to see in your card. These may include: the color scheme, the witty inner fold message, the pop up picture or image, the card face material.
- Preparation of also entails reading about the basics of paper engineering and art forms like origami. This preliminary step is not compulsory though. You may proceed to the next few steps without knowing a single thing about the art of paper folding.
- Prepare all the tools and materials that you are going to need and set aside an area – typically a big table – as your workstation to avoid disruptions during the creation process.
- Now, you are ready to really begin!
- First, get one card stock and fold it in half.
- Next, using a pencil, draw a three-fourths inch line at right angles to (or perpendicular to) the folded corner of the card stock. Then cut through this line using a pair of scissors. (For beginners, it is best to place this line/cut in the middle of the folded paper. This way, your card’s pop up element will be positioned right in the middle.)
- Add another line about one-fourth of an inch away from the first line. Cut it again.
- You may directly cut into the paper without drawing lines first if you are confident enough of cutting in a straight line and if you are can estimate where to correctly position the pop up’s base.
- You may also cut another pair of lines if you have other pop up elements you wish to place in your card.
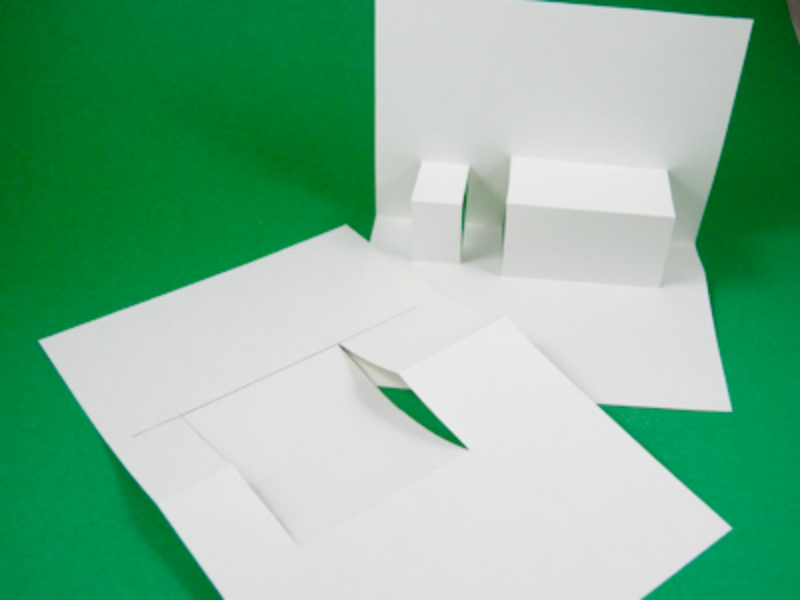
- After cutting two perpendicular lines into the folded paper, you may now push out this cut-out portion in a way that it forms a square in relation to the card stock base.
- At this point, the card will look like this:

How to Create Pop Up Cards from auntannie.com
- Now, it is time to create pop up elements. You can take out your scrapbooking materials and old magazines to cut out and glue images or words and letters (if you haven’t already) that you wish to incorporate into the pop up card’s inner fold.
- You may also use ready-made scrapbook embellishments that you can buy from craft stores and incorporate them into your pop up card design.

- Make sure to glue or attach the pop up elements on the front facing portion of the pop up base. This ensures that the elements will indeed pop up when the recipient opens the card.
- Then you may now write your messages on the card and/or print out impressive headers on the card’s inner fold. If available, you may use letter stickers and quote stickers to decorate your card.
- Once that is done, it is time to create the card’s front cover. For this portion, you can go for minimalist designs or opt for more awesome pop up card designs.
- In addition, you may also create handmade envelopes that will match with your pop up card.
- Now that you have finished creating your very first pop up card. Just keep on practicing and you will be making more creative card projects soon.
Related Posts
10+ Blank Thank You Cards
11+ Rustic Thank You Cards
11+ Professional Thank You Cards
7+ Wedding Thank You Cards
8 Artistic Greeting Card Designs
7+ Vintage Travel Postcard Designs
7+ Retro Thank You Card Designs
9+ Square Business Card Templates – AI, Apple Pages, Ms Word
17+ Editable Identification Card Template Designs – PSD, AI, Word
9+ Designs for Wedding Planner Business Cards
12+Transparent Business Card Templates – Ms Word, AI, PSD, Publisher
12+ Business Card Designs for Landscapers
16+ Lawyers Business Card Templates – PSD, Ms Word
15+ Business Card Designs for Every Photographer
13+ Unique Pop Up Greeting Cards